Cold Brew Coffee Maker Instructions: A Comprehensive Guide
Unlock the secrets to crafting exceptional cold brew at home․ This comprehensive guide provides step-by-step instructions, ensuring a smooth, flavorful, and less acidic coffee experience․ Discover the art of cold brewing and elevate your coffee game today, using simple ingredients․
Understanding Cold Brew Coffee
Cold brew coffee has surged in popularity, prized for its distinct flavor profile and refreshing qualities․ Unlike traditional iced coffee, which is simply hot-brewed coffee chilled, cold brew undergoes a unique extraction process․ This process involves steeping coarsely ground coffee beans in cold or room-temperature water for an extended period, typically ranging from 12 to 24 hours․ This prolonged immersion allows the water to gently extract the coffee’s flavors, resulting in a smoother, less acidic, and naturally sweeter concentrate․
The absence of heat during brewing is a key differentiator․ Hot water tends to extract more oils and acids from the coffee grounds, contributing to a bitter taste․ Cold brewing, on the other hand, minimizes the extraction of these compounds, resulting in a more mellow and balanced flavor․ The resulting concentrate can then be diluted with water or milk and served over ice, or even warmed up for a hot cup of coffee․ The versatility and unique characteristics of cold brew make it a favorite among coffee enthusiasts․
What is Cold Brew and Why Choose It?
Cold brew coffee is a method of brewing coffee where coarsely ground coffee beans are steeped in cold or room-temperature water for an extended period, typically 12-24 hours․ This slow immersion process extracts the coffee’s flavors without the bitterness and acidity associated with traditional hot brewing methods․ The result is a concentrate that is smoother, naturally sweeter, and easier on the stomach․
There are several reasons to choose cold brew over other coffee preparations․ Its lower acidity makes it a preferable option for individuals sensitive to acidic foods and drinks․ The extended steeping process allows for a fuller extraction of flavors, resulting in a rich and complex taste profile․ Cold brew is also incredibly versatile; it can be served over ice, diluted with water or milk, or even heated up for a warm and comforting beverage․ Furthermore, it can be stored for up to two weeks, making it convenient for preparing large batches and enjoying coffee throughout the week․
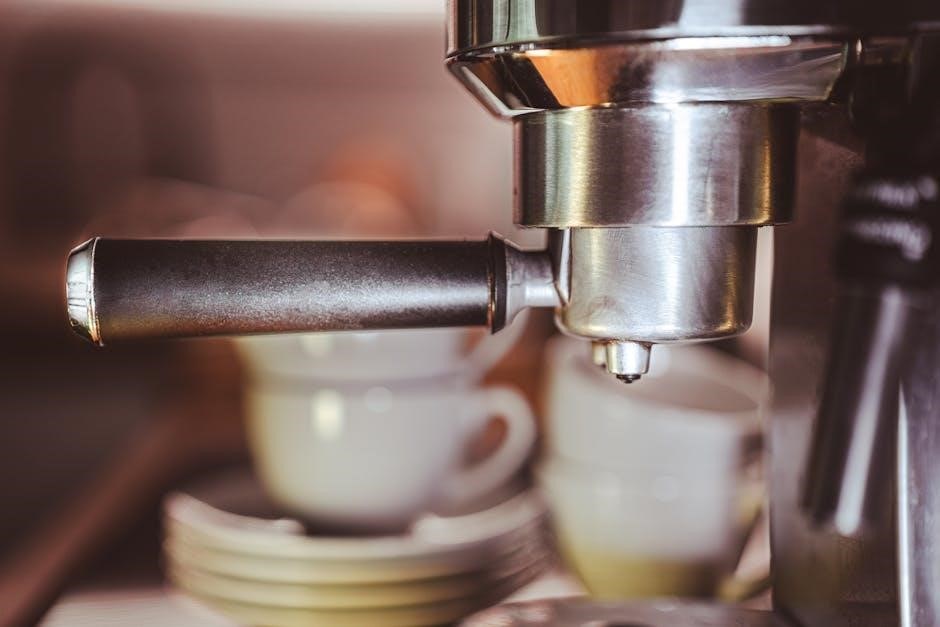
Essential Equipment for Cold Brew
To embark on your cold brew journey, you’ll need a few key pieces of equipment․ First and foremost, a brewing container is essential․ A large mason jar, pitcher, or specialized cold brew maker will work perfectly․ Next, you’ll need a filter to separate the coffee grounds from the concentrate․ Options include cheesecloth, a fine-mesh sieve, or paper coffee filters․
A coffee grinder is also crucial for achieving the ideal coarse grind․ Burr grinders are preferred for their consistency, but a blade grinder can be used in a pinch․ Don’t forget a container for storing your finished cold brew concentrate, such as a glass jar or bottle․ Additionally, a rubber band or string can be helpful for securing the cheesecloth filter․
While not strictly essential, a scale for measuring coffee beans and water can help you achieve the perfect coffee-to-water ratio․ Consider a French press for a mess-free cold brew experience․ With these essential tools, you’ll be well-equipped to create delicious cold brew coffee in the comfort of your own home․
Choosing the Right Cold Brew Maker
Selecting the right cold brew maker depends on your individual needs and preferences․ Consider factors like batch size, ease of use, and filtration method․ For small batches, a simple mason jar with a cheesecloth filter may suffice․ However, for larger quantities, a dedicated cold brew maker is recommended․
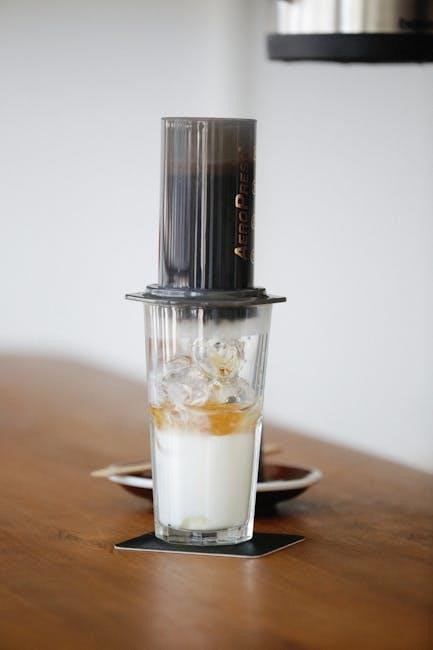
Immersion brewers, like the Toddy Cold Brew System, steep the coffee grounds directly in water, providing a rich, concentrated brew․ Drip cold brew makers, on the other hand, slowly drip water over the grounds, resulting in a smoother, less acidic flavor․ French presses can also be used for cold brewing, offering a convenient and mess-free option․
When choosing a cold brew maker, consider the material it’s made from․ Glass and stainless steel are durable and easy to clean․ Look for models with reusable filters to reduce waste․ Ultimately, the best cold brew maker is the one that fits your lifestyle and helps you create consistently delicious coffee․ Read reviews and compare features before making your final decision․
Step-by-Step Instructions for Using a Cold Brew Maker
Creating delicious cold brew at home is straightforward․ First, grind your coffee beans coarsely, resembling breadcrumbs․ Add the grounds to your cold brew maker, ensuring even distribution․ Pour cold, filtered water over the grounds, using a coffee-to-water ratio of 1:5 or 1:4, adjusting to taste․
Gently stir the mixture to ensure all grounds are saturated․ Seal the container and refrigerate for 12-24 hours, depending on desired strength․ The longer it steeps, the bolder the flavor․ After steeping, filter the concentrate using the method specific to your brewer․
For immersion brewers, carefully drain the concentrate through a filter, discarding the grounds․ With drip brewers, allow the concentrate to drip completely․ French press users should gently press the mesh down to separate the grounds․ Store the concentrate in the refrigerator for up to a week․ Dilute with water or milk to your preferred strength when serving․ Enjoy your refreshing, homemade cold brew․
Grinding the Coffee Beans: Achieving the Ideal Coarseness
The grind size is paramount for successful cold brewing․ A coarse grind, similar to breadcrumbs or Kosher salt, is ideal․ This prevents over-extraction, which leads to bitter flavors․ Finer grinds result in excessive sediment and a muddy taste․
A burr grinder is recommended, as it produces a more consistent particle size than a blade grinder․ Consistency is key for even extraction․ If using a blade grinder, pulse it in short bursts to avoid creating too much fine powder․
The goal is to have uniformly sized particles, allowing for a clean, smooth extraction․ Imagine comparing it to making a soup․ If you cut vegetables in different sizes, they will cook at different rates․ Similarly, with coffee, if the grind is not consistent, the coffee will taste muddy and bitter․
Adjust your grinder to the coarsest setting and test the grind․ If it’s too fine, adjust the setting and grind again․ Experimentation is encouraged to find the sweet spot for your grinder and beans․ Remember, a coarse grind is essential for achieving the desired flavor profile in your cold brew․
The Coffee-to-Water Ratio: Finding Your Perfect Balance
Achieving the perfect cold brew hinges significantly on the coffee-to-water ratio․ This ratio dictates the strength and concentration of your final product․ Most sources recommend starting with a ratio of 1:5, meaning one part coffee grounds to five parts water․ This serves as an excellent foundation for experimentation․
For example, if you’re using 4 ounces of coarsely ground coffee, you’ll want to combine it with 20 ounces of water․ This yields a concentrate that can then be diluted to your desired strength․ Remember, cold brew is typically made as a concentrate․
Some prefer a stronger brew, opting for a 1:4 ratio, while others enjoy a milder flavor, using a 1:8 ratio․ The ideal ratio depends on your personal taste and the type of coffee beans you’re using․ Darker roasts often require a slightly lower coffee-to-water ratio, as they tend to extract more flavor․
Experimentation is key․ Start with the 1:5 ratio and adjust to your liking․ Keep notes on your adjustments to perfect the cold brew to your taste․ Always use accurate measurements for consistent results․ The coffee-to-water ratio is the cornerstone of your cold brew recipe!
Steeping Time: How Long to Brew for Optimal Flavor
The steeping time is a crucial factor in determining the flavor profile of your cold brew․ Unlike hot brewing methods, cold brew relies on time rather than heat to extract the desired flavors from the coffee grounds․ Generally, a steeping time of 12 to 24 hours is recommended․
Steeping for less than 12 hours may result in a weaker, less flavorful brew․ Steeping beyond 24 hours can lead to over-extraction, potentially resulting in a bitter taste․ The ideal steeping time depends on several variables․
These variables include the coarseness of the grind, the coffee-to-water ratio, and your preferred flavor intensity․ For a smoother, less acidic cold brew, aim for a steeping time closer to 16-18 hours․ If you prefer a bolder, more intense flavor, consider steeping for the full 24 hours․
It’s best to experiment to find the sweet spot that aligns with your taste preferences․ During the steeping process, keep the coffee grounds and water mixture at room temperature or in the refrigerator․ Refrigeration can slow the extraction, potentially requiring a slightly longer steeping time; After steeping, proceed to filtering the concentrate․
Filtering the Cold Brew Concentrate
After the steeping process, filtering the cold brew concentrate is essential to remove the coffee grounds and achieve a smooth, clean final product․ Several methods can be employed for filtering, each with its own advantages․ A popular option is using a fine-mesh sieve lined with cheesecloth or a coffee filter․
This method effectively removes most of the grounds, providing a relatively clear concentrate․ Another approach is using a French press․ Gently press the mesh down to separate the grounds from the liquid, then pour the concentrate into a separate container․ However, French presses may not capture all the fine sediment․
For the cleanest result, consider using a paper coffee filter or a specialized cold brew filter bag․ These filters trap even the smallest particles, resulting in a sediment-free concentrate․ Regardless of the method, it’s crucial to filter slowly to prevent the filter from clogging or tearing․
Once filtered, the cold brew concentrate is ready for dilution and serving․ Remember, the concentrate is potent, so adjust the water-to-concentrate ratio to your liking․ Properly filtered cold brew should be clear and free of any visible sediment, ensuring a smooth and enjoyable coffee experience․ Store any remaining concentrate in the refrigerator․
Serving and Storing Cold Brew
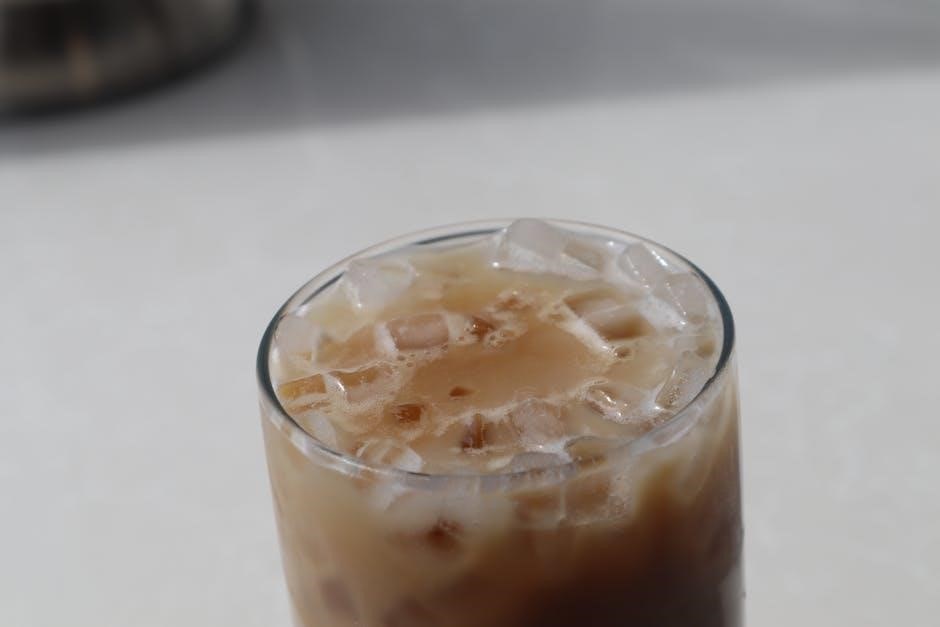
Once you’ve brewed and filtered your cold brew concentrate, the next step is serving and storing it properly to maintain its quality and flavor․ Cold brew can be enjoyed in various ways, depending on your preference․ It’s commonly served over ice, diluted with water or milk to your desired strength․ A typical starting ratio is 1:1, concentrate to water, but adjust to taste․

For a sweeter treat, add a touch of simple syrup, vanilla extract, or your favorite sweetener․ Cold brew also pairs well with creamers, both dairy and non-dairy options․ Experiment with different combinations to find your perfect cup․ Beyond the traditional iced coffee, cold brew can be used as a base for coffee cocktails, smoothies, or even as an ingredient in desserts․
To store your cold brew concentrate, transfer it to an airtight container, such as a glass jar or bottle․ Properly stored, cold brew concentrate can last up to two weeks in the refrigerator without significant loss of flavor․ However, it’s best consumed within the first week for optimal taste․
Avoid storing cold brew at room temperature, as this can lead to spoilage; When serving, always use clean utensils to prevent contamination․ With proper serving and storage, you can enjoy your homemade cold brew for days․
Tips for Perfecting Your Cold Brew
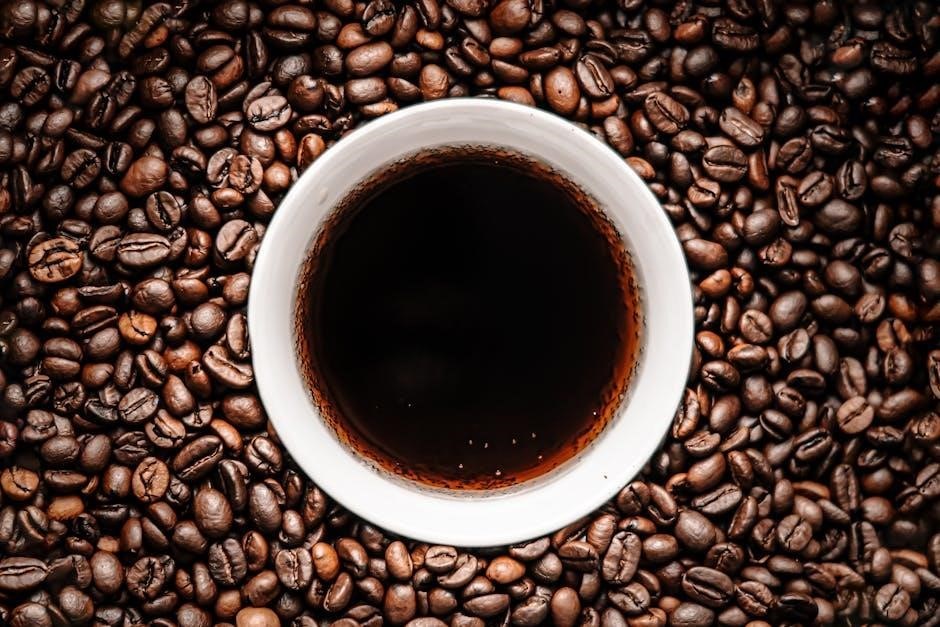
Mastering cold brew is a journey, and these tips will help you refine your technique․ Experiment with different coffee bean origins and roast levels․ Dark roasts generally yield a bolder flavor, while lighter roasts offer more subtle nuances․ A coarse grind is crucial for avoiding over-extraction and bitterness․ Adjust your coffee-to-water ratio to find your sweet spot․ A 1:5 ratio is a good starting point, but feel free to experiment․
Pay close attention to steeping time․ While 12-24 hours is the standard, shorter or longer steeping times can alter the flavor profile․ Taste your cold brew at different intervals to determine your ideal steeping duration․ Use filtered water for the best results․ Tap water can contain impurities that affect the taste of your cold brew․
When filtering, consider using a double-filtering method for a smoother concentrate․ First, strain through a coarse mesh sieve, then follow up with a paper filter or cheesecloth․ If you find your cold brew too strong, dilute it with water or milk․ For a richer flavor, try adding a splash of cream or a dash of your favorite spice, like cinnamon or nutmeg․ Don’t be afraid to experiment and customize your cold brew to your liking․